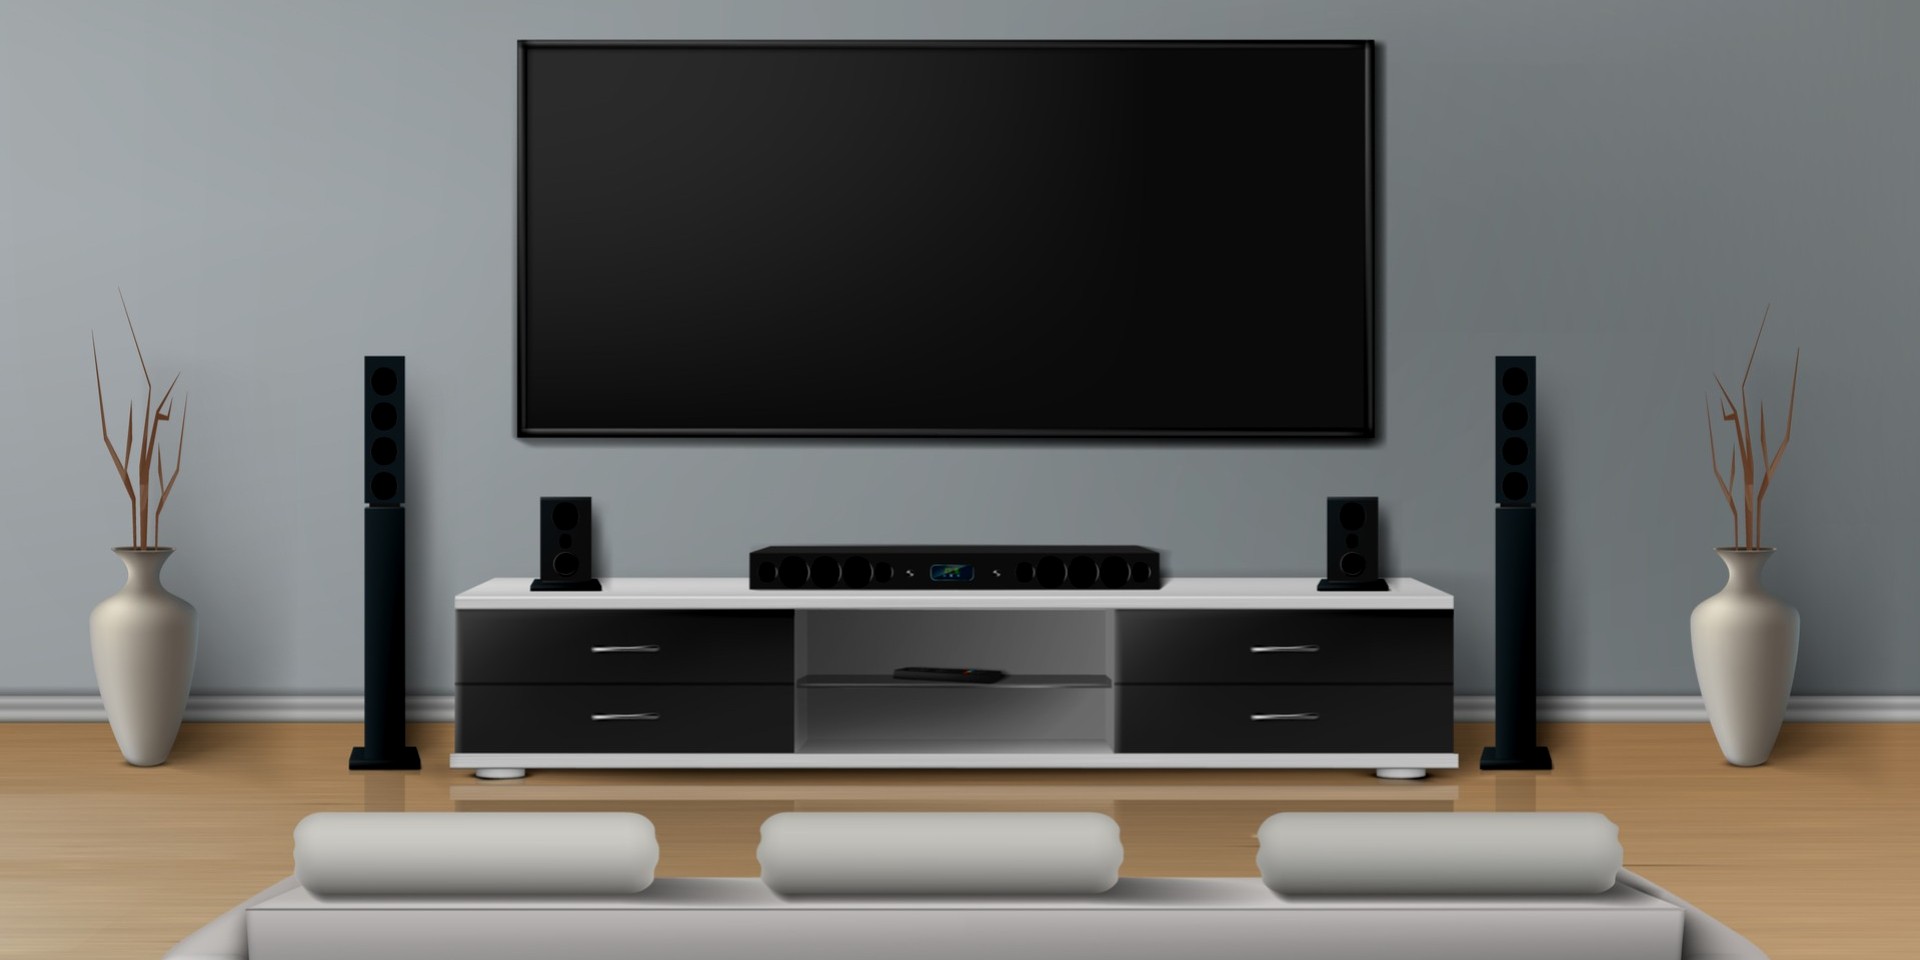
If you want to connect a receiver to a TV, there are a few things you need to know. In this guide, we’ll walk you through the process of connecting your receiver and TV, so you can start watching your favorite shows and movies in no time.
We’ll also show you how to configure your receiver for the best possible sound quality. So, whether you’re new to home entertainment or just looking for a refresher course, read on for all the information you need.
What is an AV receiver
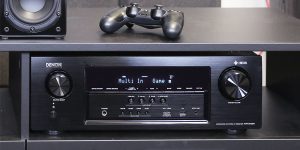
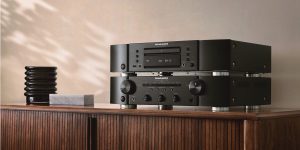
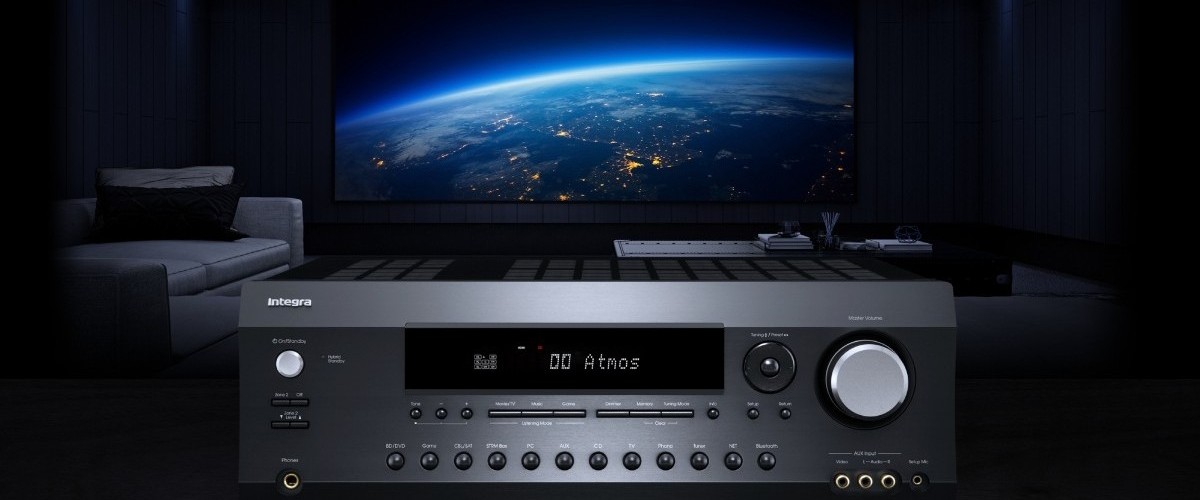
An AV receiver or home theater receiver is a central component of any home theater system. It’s the brains of the operation, responsible for managing all of the audio and video signals coming into your TV.
A receiver typically has several inputs for connecting different devices, such as a Blu-ray player, game console, and cable box. It also has outputs for connecting speakers so that you can create a surround sound system.
Why connect TV to a receiver
There are several benefits to connecting your TV to a receiver.
- First, it gives you more control over the audio and video signals on your TV. It means you can optimize your specific setup’s picture and sound quality.
- Second, connecting your TV to a receiver allows you to use a surround sound system, which can significantly improve your home theater experience.
- Third, connecting your devices to a receiver allows you to use a single remote control to operate all of your devices. It can be a significant convenience, especially if you have a lot of different devices.
- Finally, connecting your TV to a receiver allows you to use advanced features, such as picture-in-picture and multi-room audio.
Connecting a receiver to a TV
There are several ways to connect a receiver to a TV, depending on the type of receiver and TV you have. The most common method is to connect the receiver to the TV with HDMI cables.
Using an HDMI Cable
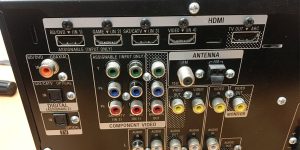
The first step is to connect the receiver to the TV with an HDMI cable. Choose the one you want to use if your receiver has multiple HDMI inputs. Then, connect the other end of the cable to the corresponding input on your TV.
If your receiver only has one HDMI input, you’ll need to use a splitter to connect multiple devices.
Once the receiver is connected to the TV, you’ll need to connect any other devices you want to use, such as a Blu-ray player or game console. To do this, connect those devices to the receiver with additional HDMI cables.
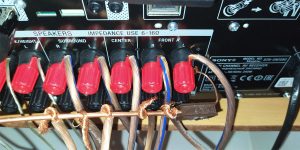
Finally, connect your speakers to the receiver. Most receivers have multiple speaker outputs, so you can choose how many speakers you want to use.
Once everything is connected, you’re ready to start watching TV.
Using component cables
To connect your receiver to the TV with component cables, connect the receiver’s red, green, and blue inputs to the corresponding outputs on the TV. Then, connect the white and red audio inputs on the receiver to the corresponding audio outputs on the TV.
Using RCA
You can still connect your receiver using RCA cables if you have an older TV that doesn’t have HDMI or component inputs. To do this, simply connect the receiver’s red and white audio inputs to the corresponding audio outputs on the TV. Then, connect the yellow video input on the receiver to the corresponding video output on the TV.
Using Bluetooth
If your TV and receiver have Bluetooth, you can wirelessly connect the two devices. To do this, put the receiver into pairing mode and then select it on your TV. Once the two devices are paired, you can use the receiver to watch TV.
Using wireless connection
If your TV and receiver both have a wireless connection, you can connect the two devices wirelessly. To do this, connect the receiver to your home network and select it on your TV. Once the two devices are connected, you can use the receiver to watch TV. Now that you know what an AV receiver is and how to connect it to your TV, you’re ready to start enjoying all its benefits.
Troubleshooting Tips
If you’re having trouble getting your receiver and TV to work together, here are a few troubleshooting tips:
- Make sure your receiver is turned on.
- Make sure your TV is turned on.
- If you’re using HDMI, ensure the HDMI cable is properly connected to both the receiver and TV.
- If you’re using composite cables, make sure all three cables (video, left audio, right audio) are connected in the right way to the receiver and TV.
- If you’re using a surround sound system, check the connection of your speakers to the receiver.
- Make sure the volume on your TV and receiver are both turned up.
- If you’re still having trouble, consult your receiver’s manual or the manufacturer’s website for more help.
No matter which method you use, connecting your TV to a receiver is a great way to improve your home theater experience. By taking the time to connect your devices properly, you’ll be able to enjoy all of your favorite movies and TV shows in the best possible quality.
Setting up the sound on your receiver
Once you’ve connected your receiver and TV, it’s time to configure it for the best possible sound quality. First, make sure your speakers are properly connected to your receiver. Then, use your receiver’s menu to configure the speakers for your specific setup. Most receivers have a ” speaker configuration ” or ” surround sound ” menu to walk you through the process.
If you’re using a 5.1 surround sound system, your receiver must be configured for Dolby Digital or DTS Surround Sound. These are common surround sound formats, and most receivers will support one or both. To configure your receiver for Dolby Digital or DTS Surround Sound, consult your receiver’s manual.
Once you’ve configured your receiver and speakers, you’re ready to start watching TV. Just remember to adjust the volume on your TV and receiver separately. The TV controls the volume of the video signal, while the receiver controls the audio signal’s volume.
So, if you’re having trouble hearing your favorite show, ensure you’ve turned up the volume on both your TV and receiver.
